
Changing the default font in Microsoft Word is one of those small adjustments that can save a surprising amount of time. If you regularly change Calibri, Aptos, Times New Roman, font size, spacing, or color every time you open a new document, setting your preferred style once is a smarter way to work. Many people search for how to change default font in word because they want every new document to open with the same clean, professional formatting.
The process is simple, but the exact steps can vary slightly depending on whether you use Word for Windows, Word for Mac, or Word on the web. It also helps to know how Word stores default font settings, especially if your changes do not seem to apply later. This guide walks through the practical steps, common issues, and best choices for business documents, school papers, resumes, reports, and everyday writing.
Set the Default Font in Word for Windows
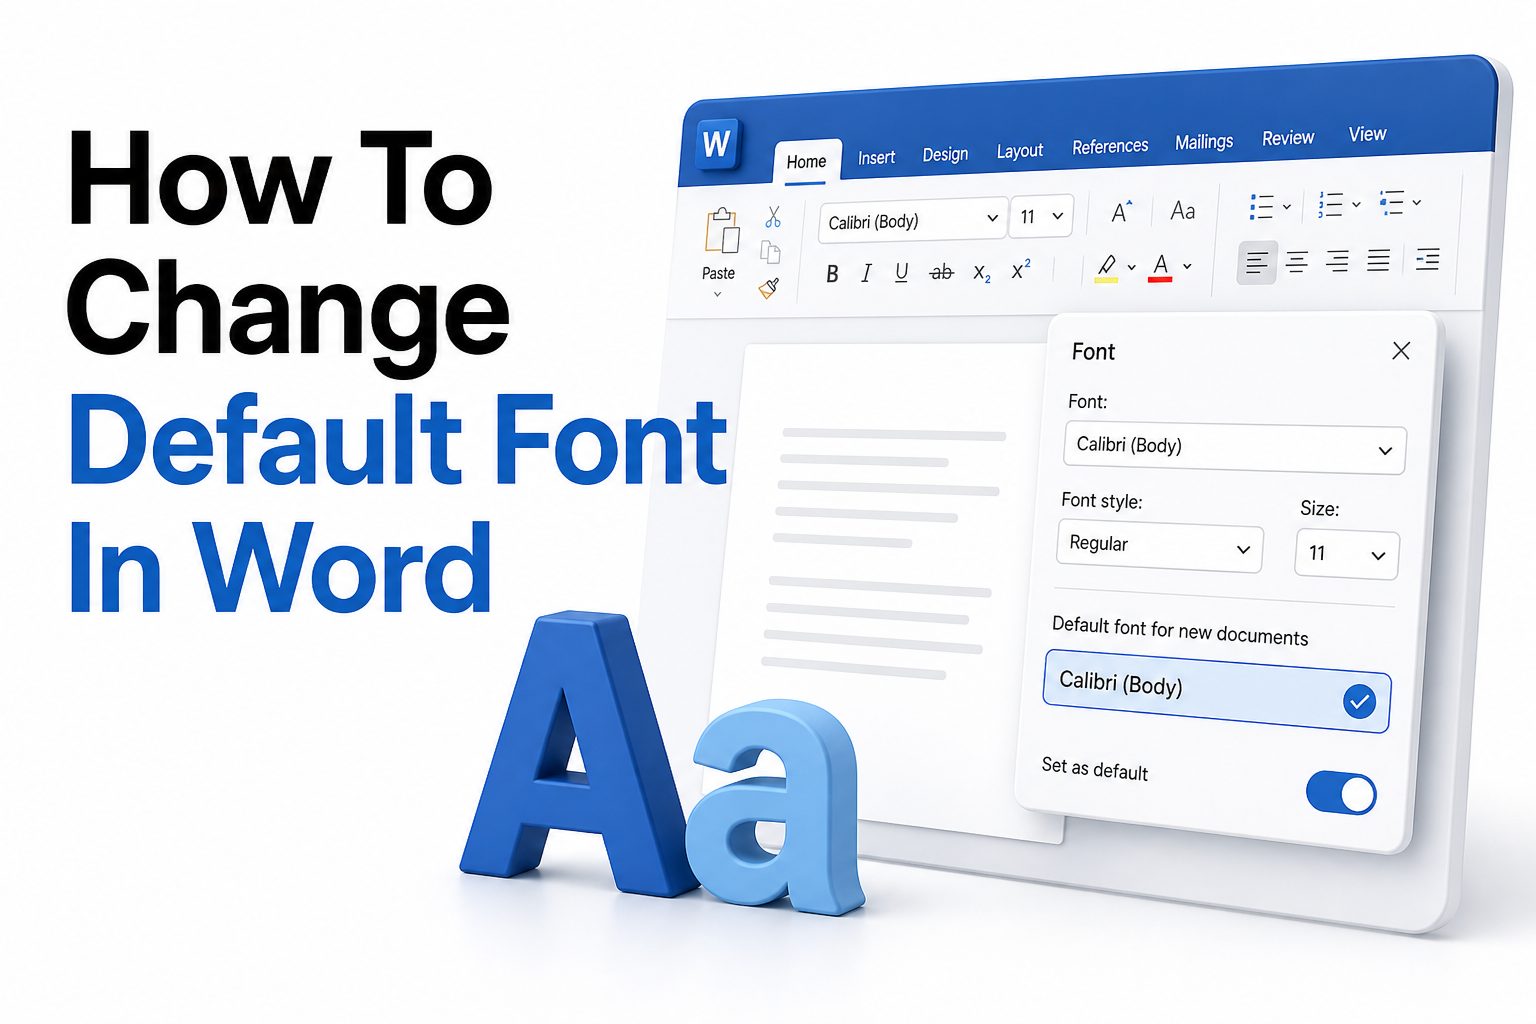
In Word for Windows, the default font is controlled through the Font dialog box. Open a blank document, then go to the Home tab and click the small arrow in the lower-right corner of the Font group. This opens the full font settings panel.
Choose the font, size, style, color, and effects you want to use for future documents. After making your choices, click Set As Default. Word will ask whether you want the change to apply only to the current document or to all documents based on the Normal template.
Apply the Font to All New Documents
To make the change permanent, select the option that applies the font to all documents based on the Normal template. This is the setting most users want because it affects future blank documents created in Word.
After confirming the change, close Word and reopen it to test the result. Create a new blank document and check whether your selected font appears automatically. If it does, Word has saved your new default font correctly.
Quick checklist before changing the default font
- Open a blank document, not an existing formatted file.
- Use the Home tab and the Font dialog box.
- Choose font family, size, style, and color carefully.
- Select the option for all documents based on the Normal template.
- Restart Word and test a new blank document.
- Avoid changing defaults inside a heavily customized document.
Change the Default Font in Word for Mac
Word for Mac uses a similar process, although the menus look slightly different. Open a new blank document, then choose Format from the top menu and select Font. You can also use the shortcut Command + D to open the font settings faster.
Select your preferred font, size, style, and other details. Click Default, then confirm that you want the setting applied to documents based on the Normal template. This tells Word to use your selected font whenever you start a new blank file.
Why Mac Font Changes Sometimes Do Not Save
If your default font does not stay saved on Mac, the Normal template may be locked, damaged, or stored in a location Word cannot update. Closing all Word documents before making the change can help prevent template conflicts.
You should also make sure Microsoft Word has permission to access its template folder. If Word is managed by an organization, such as a school or company, your administrator may restrict changes to default document settings.
Change the Default Font in Word Online
Word for the web does not offer the same full default font control as the desktop app. You can change the font in the current document, but those choices may not automatically become the default for every future blank document.
A practical workaround is to create a reusable template document with your preferred font, margins, and spacing. Save it in OneDrive, duplicate it whenever needed, and use it as your starting point for documents that require consistent formatting.
Best Workaround for Browser Users
If you mostly use Word online, create a clean document with your preferred font and name it something like “Blank Writing Template.” Keep it easy to find in OneDrive or pin it for quick access.
This approach works well for students, freelancers, and teams who do not always have access to the desktop version. It also lets you include other default formatting choices, such as line spacing, headings, and page margins.
Desktop Word vs Word Online comparison
Feature | Word for Windows | Word for Mac | Word Online
Default font for new blank documents | Yes | Yes | Limited
Normal template support | Yes | Yes | No full control
Best for long-term formatting | Strong | Strong | Basic
Template workaround needed | Rarely | Sometimes | Often
Works offline | Yes | Yes | No
Choose the Best Default Font for Your Documents
The best default font depends on the type of writing you do. For business documents, Aptos, Calibri, Arial, and Segoe UI are clean choices. For academic writing, Times New Roman is still widely required by many schools and style guides.
Font size matters as much as font family. Most professional documents use 11 or 12 points for body text. If you write reports, proposals, or client-facing material, choose a font that remains readable on both screens and printed pages.
Professional Font Choices That Work Well
Aptos is Microsoft’s newer default font and has a polished, modern look. Calibri remains familiar and easy to read, while Arial is practical when documents are shared across different platforms or converted to PDF.
Times New Roman is more traditional and is often expected for essays, research papers, and formal submissions. If your organization has brand guidelines, use the required typeface instead of choosing a personal preference.
Set a Default Font Size in Word
Changing the default font size follows the same steps as changing the font itself. Open the Font dialog box, choose your preferred size, then select Set As Default. Apply it to all documents based on the Normal template.
A font size of 11 works well for compact business documents, while 12 is better for readability and academic formatting. Avoid going too small, especially for documents that may be printed, reviewed on mobile devices, or read by clients.
When to Use 10, 11, or 12 Point Text
A 10-point font can work for tables, footnotes, and dense internal documents, but it is usually too small for general writing. It may also reduce accessibility for readers who need clearer text.
An 11-point font offers a good balance between professional appearance and space efficiency. A 12-point font is safer when readability matters most, especially for contracts, school papers, manuals, and printed handouts.
Useful font size tips
- Use 11 or 12 points for most body text.
- Use larger sizes only for headings and title pages.
- Keep footnotes readable, usually no smaller than 9 points.
- Match font size to your audience and document purpose.
- Test printed documents before finalizing a default.
- Avoid decorative fonts for normal paragraph text.
Set Default Font Color and Style
Word also lets you set font color, bold, italic, underline, and other effects as defaults. For most documents, black or automatic font color is the best choice because it prints clearly and works well with accessibility settings.
Bold, italic, and underline should usually stay off by default. These styles are more effective when used for emphasis, headings, citations, or labels. Setting them as default can make documents look cluttered and harder to scan.
Why Automatic Font Color Is Often Better
Automatic font color adjusts more reliably when themes, backgrounds, or accessibility settings change. It also reduces problems when switching between light and dark modes or when copying text between documents.
Choosing a fixed color can be useful for branded templates, but it should be done carefully. Dark gray may look refined on screen, yet black is usually safer for legal documents, printed reports, and formal submissions.
Change the Default Font for Headings
The default font for headings is controlled through Word styles, not just the basic font menu. If you want headings to use a specific font, right-click a heading style such as Heading 1 and choose Modify.
Select the font, size, color, spacing, and formatting you want. Then choose the option to apply the change to new documents based on the template. This keeps headings consistent without manually formatting each section.
Why Styles Matter in Word
Styles help Word manage structure, spacing, tables of contents, navigation, and accessibility. When you manually format headings, the document may look right but behave poorly when reorganized or exported.
Using styles is especially important for long documents, reports, ebooks, policies, and manuals. If you often create structured documents, learning styles will save more time than changing only the default body font.
Default body font vs heading font
Setting | Best controlled through | Common use
Body text | Font dialog box | Paragraphs and regular writing
Heading 1 | Styles pane | Main document sections
Heading 2 | Styles pane | Subsections
Captions | Styles pane | Figures and tables
Footnotes | Styles pane | Notes and references
Fix Word When the Default Font Keeps Changing Back
If Word keeps reverting to the old font, the Normal template may not be saving correctly. This can happen after updates, template corruption, permission issues, or conflicts with add-ins that control document formatting.
First, close all Word windows and try setting the default font again in a new blank document. If that fails, check whether your organization uses managed templates. Company systems may reset fonts to match brand or compliance requirements.
Check the Normal Template
The Normal template stores many default Word settings, including fonts and styles. If this file is damaged or read-only, Word may let you make changes during the session but lose them after closing.
Renaming or rebuilding the Normal template can solve stubborn issues, but it should be done carefully. If you have macros, custom styles, or saved settings, back up the template before making changes.
Use Word Templates for Different Font Needs
A single default font works well for everyday documents, but many users need different formatting for different tasks. Templates are better when you switch between resumes, invoices, reports, academic papers, and branded business documents.
Instead of changing the Word default repeatedly, create separate templates with the right font, margins, headings, and spacing. This keeps your daily blank document simple while giving you polished starting points for specific projects.
Template Examples That Save Time
A resume template might use a modern sans serif font, tighter spacing, and clear heading styles. A business proposal template may include branded fonts, page headers, section styles, and formatted tables.
A school paper template can use Times New Roman, 12-point text, double spacing, and one-inch margins. Once saved, each template gives you a reliable starting point without rebuilding formatting each time.
When to use templates instead of one default font
- You write different types of documents each week.
- Your workplace requires branded formatting.
- You need separate academic and business styles.
- You share documents with a team.
- You often create proposals, reports, or client files.
- You want consistent headings, spacing, and page setup.
Change Default Paragraph Spacing Alongside Font
Font choice is only part of a clean default document. Paragraph spacing, line spacing, and indentation also affect how professional your writing looks. Many users change the font but forget that spacing still follows Word’s default style settings.
To adjust spacing, open the Paragraph settings from the Home tab. Choose line spacing, before-and-after spacing, and indentation, then set those choices as default. For professional documents, single or 1.15 spacing with modest paragraph spacing often works well.
Common Spacing Choices
Single spacing is efficient for business letters, memos, and internal notes. It keeps documents compact while still looking polished when paired with a readable font and proper margins.
Double spacing is common for academic papers, drafts, and manuscripts that require comments or review marks. If your teacher, publisher, or organization provides formatting rules, follow those instructions instead of relying on personal preference.
Save Brand Fonts in Word
Businesses often need documents to match brand standards. If your company uses specific fonts, colors, and heading styles, setting them in Word helps keep proposals, reports, and letters consistent across teams.
Before setting a brand font as the default, confirm that the font is available on other users’ devices. If someone opens the file without that font installed, Word may substitute another font and change the document’s appearance.
Font Licensing and Sharing
Some commercial fonts require licenses for every user who installs them. If your brand font is licensed, make sure your team has permission to use it before distributing templates.
For easier sharing, many organizations choose widely available fonts or Microsoft cloud fonts. You can also save final documents as PDFs when layout consistency matters more than editability. For related setup guidance, see [Internal Link: Microsoft Word Formatting Tips].
Brand font checklist
- Confirm the approved brand font and fallback font.
- Check whether the font is installed on team devices.
- Review font licensing before sharing templates.
- Set body text, headings, captions, and tables consistently.
- Test documents on another computer.
- Export to PDF for final client-ready files.
Change Default Font in Existing Documents
Changing the default font affects new documents, not old ones. If you open an existing file, it may keep the fonts saved inside that document. To update an old file, you need to change its styles or select and reformat the text.
For a quick update, press Ctrl + A on Windows or Command + A on Mac, then choose a new font. For cleaner results, modify the document’s Normal style and heading styles so the formatting stays consistent throughout the file.
Use Styles for Better Existing Document Updates
If a document uses styles correctly, changing the Normal style can update most body text at once. Updating Heading 1, Heading 2, and other styles can refresh the entire structure without manually selecting each section.
If the document contains pasted text with direct formatting, some areas may resist style changes. In that case, use Clear All Formatting carefully, then reapply the correct styles where needed.
Make the Default Font Work with PDFs
Many people change Word’s default font because their documents eventually become PDFs. A readable, common font reduces conversion problems and helps the exported PDF match the Word file more closely.
When exporting, use Word’s built-in Save as PDF or Export feature rather than printing to PDF when possible. Built-in export tools often preserve headings, links, bookmarks, and document structure more reliably.
Fonts and PDF Compatibility
If a font is unusual or restricted, it may not embed properly in the PDF. That can cause layout shifts, missing characters, or substituted fonts when someone opens the file on another device.
Using common fonts helps prevent these issues. If you need a custom font, test the PDF on another computer before sending it. This is especially important for resumes, contracts, tenders, and client presentations.
PDF-friendly font tips
- Use widely supported fonts for shared documents.
- Export with Word’s built-in PDF option.
- Open the PDF on another device before sending.
- Avoid fonts with limited character support.
- Check tables, headers, and page breaks after export.
- Use PDF when the layout should not be edited.
Change Default Font for Specific Word Templates
If you use custom Word templates, each template can have its own default font. Open the template file directly, change the font and styles, then save the template. New documents based on that template will follow its settings.
This is useful when your general blank document uses one font, but a specific workflow needs another. For example, invoices may use Arial, reports may use Aptos, and academic assignments may use Times New Roman.
Where Templates Are Useful
Templates are helpful for repeated document types that need consistent formatting. They reduce mistakes, speed up setup, and make documents look more professional even when different people create them.
They also protect your main Word default from constant changes. Instead of switching default fonts every time, you pick the right template and start writing with the proper formatting already in place.
Troubleshoot Missing Fonts in Word
Sometimes the font you want does not appear in Word. This usually means the font is not installed, is disabled, or is not supported by the version of Word you are using.
Install the font through your operating system, then restart Word. If you are using a cloud or organization-managed device, you may need administrator permission. On shared documents, remember that other people also need access to the font.
Cloud Fonts and Installed Fonts
Microsoft 365 includes cloud fonts that may download automatically when selected. These are convenient because they work across many Microsoft apps and do not always require manual installation.
Locally installed fonts depend on the device. If you send a document using a local custom font, another person may see a substitute font unless they have the same one installed.
Common reasons fonts are missing
- The font is not installed on the computer.
- Word was open before the font was installed.
- The font file is damaged or unsupported.
- Organization policies block custom fonts.
- The document uses a font from another device.
- Word Online has limited font availability.
Best Practices for Word Font Defaults
A good default font should be readable, appropriate, and easy to share. Avoid choosing a decorative font for everyday writing, even if it looks distinctive. Defaults should reduce work, not create cleanup later.
Keep your default settings simple. A clean font, practical size, automatic color, and consistent spacing will serve most documents well. Use templates for special cases instead of overloading the basic blank document with too many design choices.
Recommended Default Setup
For most professional users, Aptos or Arial at 11 points with automatic color is a reliable setup. It looks clean on screen, prints well, and works across common business documents.
For academic users, Times New Roman at 12 points remains a safe default where formal formatting rules apply. Always check assignment, journal, or institutional guidelines before submitting final work. For more layout help, visit [Internal Link: Document Formatting Guide].
Conclusion
Changing Word’s default font is a simple way to make every new document feel ready from the start. Once you set the right font, size, style, and spacing, you spend less time fixing formatting and more time writing clearly. The best approach depends on how you use Word: desktop users can update the Normal template, Mac users can use the Default button in the Font menu, and Word Online users may get better results from a reusable template.
For everyday work, choose a readable font that fits your audience and shares well across devices. For special needs, such as resumes, proposals, school papers, or branded documents, templates give you more control without changing your main settings. If you remember one thing about how to change default font in word, it is this: set the basic default for routine writing, then use styles and templates for anything more specific.
FAQ
Can I change the default font in Word Online
Word Online has limited default font controls. You can format individual documents, but the better option is creating a reusable template with your preferred font, size, spacing, and margins saved in OneDrive.
Why does Word keep changing my font back?
Word may be unable to save changes to the Normal template. This can happen because of template corruption, restricted permissions, managed company settings, or add-ins that reset formatting when Word closes.
Does changing the default font affect old documents?
No, changing the default font usually affects only new blank documents. Existing files keep their saved formatting unless you manually update their text, modify styles, or apply a new template.
What is the best default font for Word?
Aptos, Arial, Calibri, and Times New Roman are safe choices. The best option depends on your document type, audience, and formatting rules. Business documents usually work well with clean sans serif fonts.
Can I set different default fonts for different documents?
Yes, use Word templates for different document types. Each template can have its own font, heading styles, spacing, margins, and layout, making it easy to create consistent files for separate purposes.
0 Comments